- Published on
Home Alarm: Part 1 - Unboxing the Homey Pro 2023
- Authors

- Name
- Williamo
- X
- @williamodev

Introducing my first blog series, where I'll share my journey of creating a home alarm system using Homey Pro as the main brain.
My IoT journey began with Conbee 2 and the Phoscon App software, which was a great starting point. However, I later switched to Zigbee2MQTT to begin building my home alarm system. As the project expanded, it became quite time-consuming, and that's when I discovered the Homey Pro device. Without hesitation, I ordered one because I knew it would simplify the process, and I could focus on building my alarm system.
Why Choose Homey Pro 2023?
The Homey Pro 2023 offers support for various protocols, making it highly versatile:
- Wi-Fi 5 / 2.4 GHz b/g/n/ac
- Bluetooth / Low Energy 5.0
- 433 MHz
- Matter
- Z-Wave Plus / 700-series
- Zigbee / Zigbee 3.0
- Infrared
- Thread
Not only does it boast an impressive list of supported protocols, but its hardware is also powerful:
- CPU: 1.8GHz Quad Core
- 2 GB Memory
- 8 GB Flash Storage
Furthermore, by connecting it to an uninterruptible power supply (UPS), you can still use it during internet outages since everything is processed locally. If you wish to access it from abroad, you can open ports on the device, and for those who want to look into developing apps, Homey Pro 2023 supports local API-keys.
Unboxing and First Impression
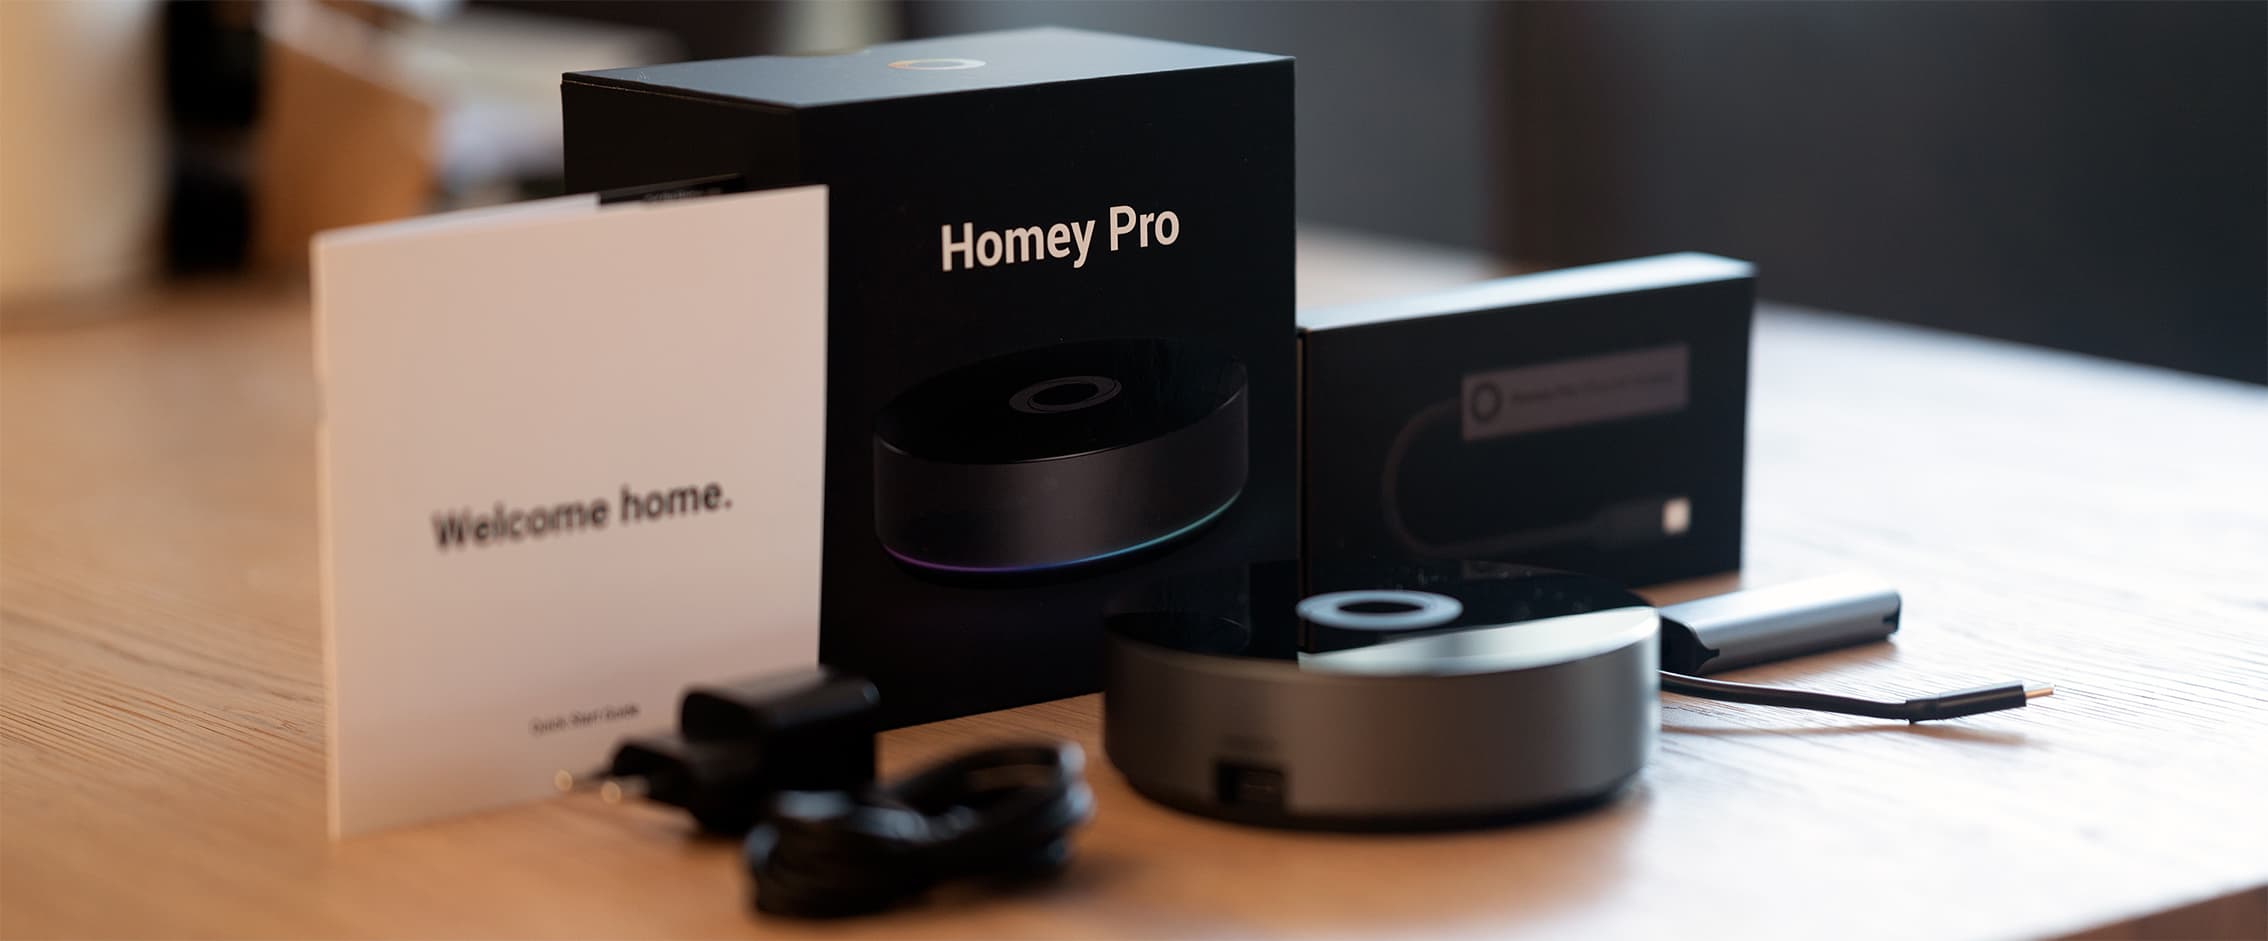
When I opened the package, I found the Homey Pro device along with a manual, a USB-C cable, and a power adapter. Additionally, I decided to purchase the optional Ethernet adapter.
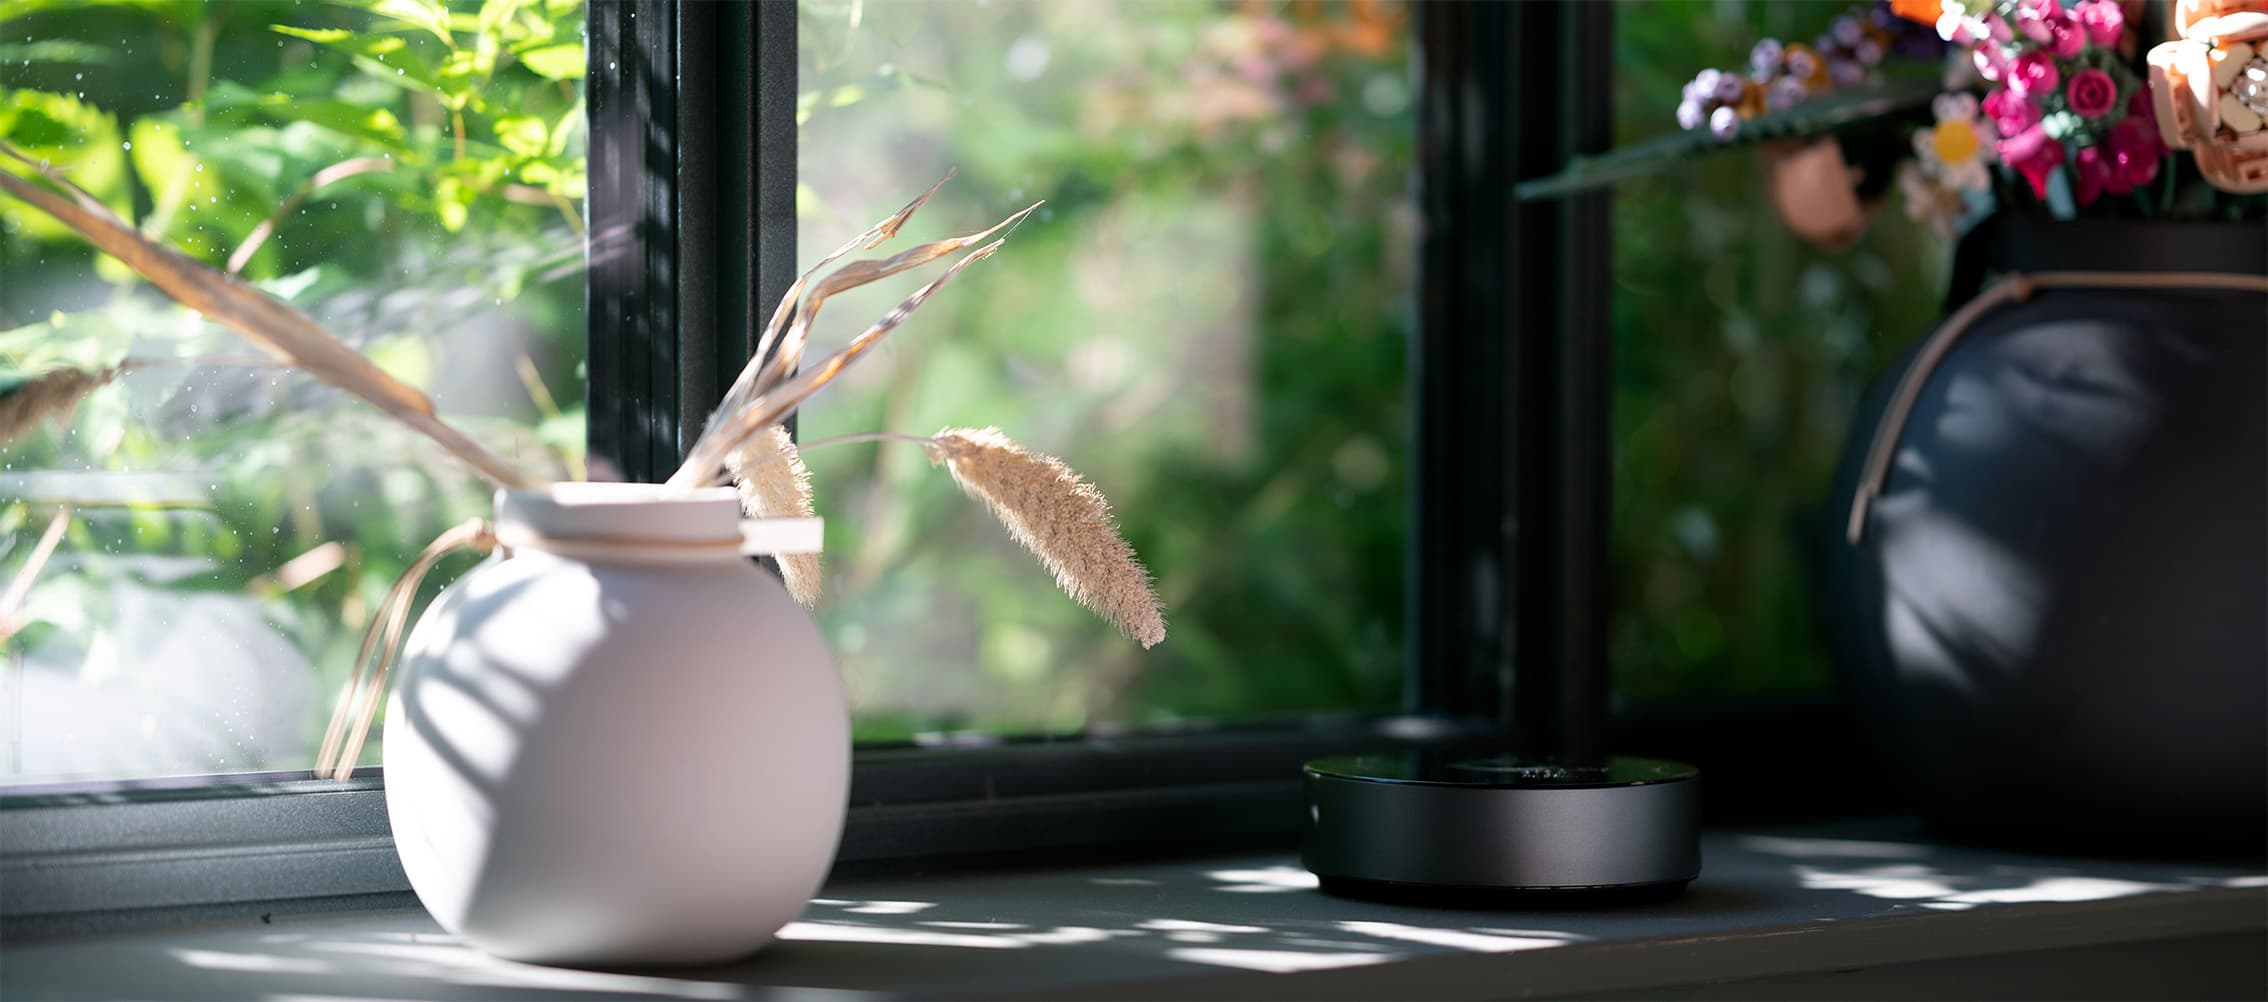
The design of the device is nice overall, but the glossy top tends to show dust easily. Apart from that, it looks solid and attractive.
Following the provided instructions, I connected the device to power and started the initial setup.
The Homey Pro's setup wizard guided me through each step, making it easy to set up even for someone with limited technical knowledge. In just a few minutes, I successfully connected the Homey Pro to my home network and began exploring its powerful automation capabilities.
Managing devices located in different areas of my home required some extra organization. I quickly realized the importance of giving clear and descriptive names to flows, which made it easier to distinguish and manage them effectively.
I faced a minor issue while installing apps, particularly when adding my Philips Hue devices. I initially installed the "official" app, assuming it was the right one, but unfortunately, it didn't work as expected. After some troubleshooting, I found a community-built app that worked perfectly, adding all my devices seamlessly. Perhaps the "official" app is intended for users without Homey Pro, so it might be better if it's not visible when using the device.
Creating Automation Rules with Homey Pro
After setting up the Homey Pro and adding all my devices, I began exploring the power of automation. In this initial stage, I focused on creating simple yet effective automation flows.
One of the first flows I established was scheduling the lights to turn on at specific times during the day. Whether it was a gentle wake-up in the morning or a well-lit living room upon returning home, Homey Pro made it easy to set up these actions.
Another essential feature was creating flows based on presence. By using presence detection, I ensured that certain actions only took place when someone was home. For instance, the lights would automatically turn off when the last person left the house and turn on when someone returned.
I was particularly impressed with the wide range of custom actions available with the Homey Pro. It felt like the possibilities were endless. Using the "when-and-then" flow was truly amazing, and I decided to abandon my own implementation in favor of this device and its functions. I'll cover more about creating flows in another post, so stay tuned for more details!
Building a basic App with Homey SDK using TypeScript
To begin building applications for Homey, I first installed Homey CLI, a helpful tool that streamlines the process.
After installing it, I used the command homey app create to create my application. The tool asked a few questions and then generated all the necessary files for me.
For a quick tryout, I generated files for a Flow using the command homey app flow create. This led to it generating a JSON file in the .homeycompose/flow/actions directory. However, editing it shouldn't be necessary unless you wish to modify the action's name or similar details.
Next, I integrated the flow action into app.ts, which turned out to be straightforward. Here's a sample TypeScript code snippet:
import Homey from 'homey';

class MyApp extends Homey.App {

  /**
   * onInit is called when the app is initialized.
   */
  async onInit() {
    this.log('MyApp has been initialized');

    const alarmAction = this.homey.flow.getActionCard('alarm');
    alarmAction.registerRunListener(async (args, state) => {
      this.log("Alarm activated");
    });
  }

}

module.exports = MyApp;
Running the app in debug with homey app run started it on my Homey Pro, and I could select my newly created card in the "when-and-then" section in Homey mobile application. When triggered, I saw the message "Alarm activated" printed in my terminal.
This was just a quick introduction to Homey SDK, and in future posts, I'll share the code I write for the communication between Homey Pro and my home alarm system.
Overall Assessment and Future Recommendations
The Homey Pro has proven to be a powerful and user-friendly smart home hub, supporting a wide range of devices from various manufacturers through protocols like Zigbee and Z-Wave. It has allowed me to create a comprehensive and interconnected smart home ecosystem.
During my experience, I've appreciated the flexibility and customization options that the Homey Pro offers. The ability to create automation flows, schedule actions, and use different triggers has made my daily routines more convenient and efficient.
However, I must acknowledge that there are areas for improvement. Adding devices from the Tuya platform was a complex and time-consuming process, which could be challenging for users without technical knowledge. Also, encountering issues with the official Hue app and relying on unofficial alternatives raised concerns about the effectiveness of some pre-installed apps.
Looking ahead, I hope that Athom, the creators of Homey Pro, will focus on enhancing the user experience by simplifying device integration and ensuring the reliability of official apps. Streamlining the process of adding devices, especially those from less user-friendly platforms like Tuya, will make Homey Pro more accessible to a broader audience.
In conclusion, my journey with the Homey Pro has been rewarding. Its home automation capabilities, device compatibility, and support from the community have impressed me. Despite some challenges, I believe the Homey Pro has the potential to revolutionize smart homes and provide a seamless and intuitive experience for users.
In future blog posts, I will continue to explore advanced features, discuss actions and APIs, and share my insights on building a home alarm system using the Homey Pro as the central brain. Stay tuned for more updates!